A punch-down tool is essential for anyone working with structured cabling. Whether you’re terminating keystone jacks, wiring patch panels, or connecting 66 and 110 blocks, this simple tool directly affects how well your network performs.
The technique matters more than most installers realize. A clean termination preserves cable geometry, reduces crosstalk, and delivers the stable connectivity that CAT5e, CAT6, and CAT6A systems require. Poor technique leads to intermittent failures, reduced speeds, and callbacks that eat into your time and reputation.
This guide walks through everything you need to know about punch-down tools, what they do, where to use them, and how to get consistent results every time.
What Does a Punch-Down Tool Actually Do?
A punch-down tool presses insulated copper conductors into IDC (Insulation Displacement Contact) slots. The IDC blades in the jack slice through the wire insulation and make contact with the copper core. You don’t need to strip individual wires; the tool and jack handle do that automatically.
You’ll use a punch-down tool on:
- Keystone jacks for wall plates and patch panels
- 110 and 66 blocks in telecom rooms
- Surface-mount boxes and enclosures
- Low-voltage distribution hardware
The result should be a termination that fully supports your cable’s rated performance—whether that’s CAT5e, CAT6, or CAT6A.
Typical Applications for Punch-Down Tools
Punch-down work shows up in nearly every low-voltage installation. Here’s where you’ll encounter it most often:
Punch-down work shows up in nearly every low-voltage installation. Here’s where you’ll encounter it most often: | |
Wall Plates & Work AreasSingle and dual-port outlets in offices, conference rooms, and homes. These are the endpoints where users plug in their devices. | Patch PanelsTelecom rooms, network closets, and data racks where you’re terminating dozens of cables in sequence. Speed and consistency matter here—a good punch-down tool saves significant time. |
Surface-Mount BoxesWhen you can’t cut into a wall, concrete, brick, rental properties, or modular furniture, surface-mount boxes let you cleanly terminate keystones with adhesive, screws, or raceway. | Consolidation Points & EnclosuresAbove-ceiling installations, open-office layouts, and intermediate routing areas where cables are grouped or transitioned. |
The location changes, but the fundamentals stay the same: prepare the cable correctly, maintain pair twist, seat conductors cleanly, and verify the result. | |
What You’ll Need
- Punch-Down Tool (impact or non-impact, depending on application)
- Cable Stripper or Jacket Cutter
- Keystone Jack (V-Max or equivalent)
- CAT5E, CAT6, or CAT6A Cable
- Cable Tester or Certification Tool
- Good lighting and a stable work surface
I-Punch Tool Tutorial
Learn how to terminate a keystone jack in 5 easy steps
Master Keystone Jack Termination
This interactive tutorial will guide you through each step of terminating a keystone jack using the I-Punch Tool by Vertical Cable. Follow along with video demonstrations for professional results every time.
What You’ll Learn:
- Strip the cable jacket properly
- Separate twisted pairs
- Align wires to the color scheme
- Insert the jack into the I-Punch Tool & Squeeze handles for termination
- Verify completion
Strip the Cable Jacket
Remove up to 2 inches of the jacket from the cable with a cutter or a cable stripper. Preserve the wire pair twists as close as possible to the point of termination.
Separate Twisted Pairs
Separate all twisted pairs from each other. Carefully untwist the pairs while maintaining the integrity of each wire.
Align Wires to Color Scheme
Determine the wiring scheme and properly align all four cables accordingly on the jack. Keep the cable jacket as close to the connector as possible.
Insert Jack into I-Punch Tool & Squeeze Handles
Insert the prepared jack and cable assembly into the I-Punch Tool. Ensure proper alignment before proceeding. Firmly squeeze the handles together, release the handles, and repeat this step to ensure a proper termination.
Termination Complete!
Your keystone jack is now properly terminated. Verify all connections are secure and test the connection.
Tutorial Complete!
You’ve learned how to properly terminate a keystone jack using the I-Punch Tool. You’re now ready to achieve professional results on every installation.
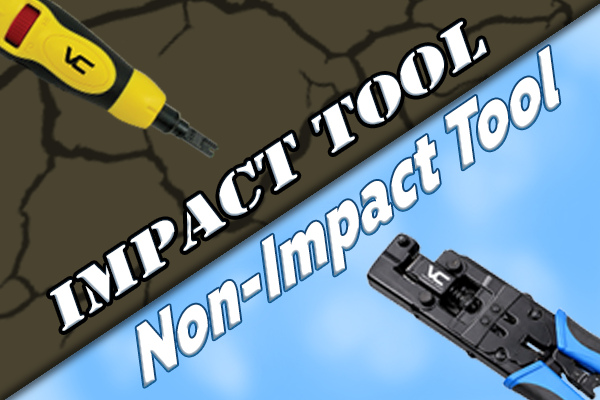
Impact vs. Non-Impact Punch-Down Tools
Not all punch-down tools work the same way, and choosing the wrong type for your application can cause problems.
Impact Punch-Down Tools
They use a spring-loaded mechanism that delivers a sharp strike. They’re designed for 110and 66-block applications where significant force is required. However, that same force can crack or damage keystone jack housings.
Non-Impact Punch-Down Tools
They apply controlled, even pressure without the sudden strike. They’re the better choice for keystone jacks, patch panels, and surface-mount applications that require precision without the risk of damage.
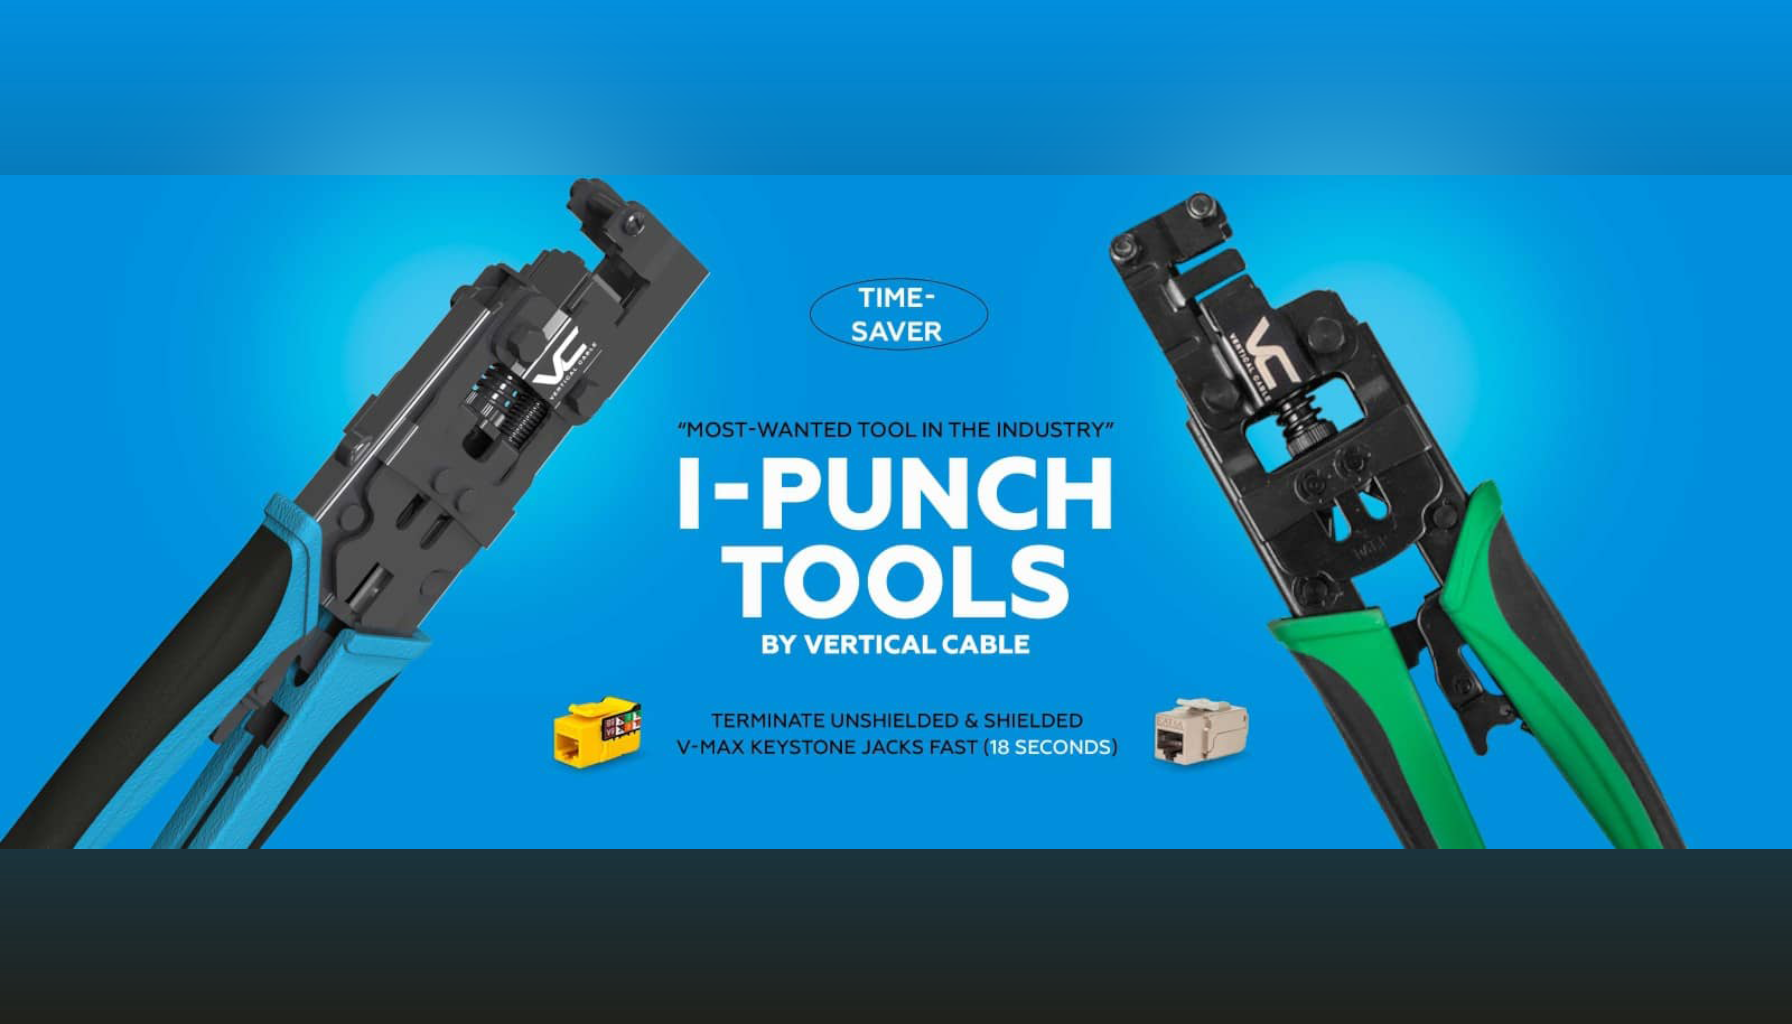
The Vertical Cable 078-2150 I-Punch Tool is a non-impact design built specifically for V-Max keystone jacks. It terminates all conductors simultaneously with uniform pressure, which speeds up the job and produces more consistent results.
Why the I-Punch Tool Works Differently
With a traditional punch-down tool, you terminate one conductor at a time. Place a wire, punch it down, trim the excess, move to the next wire. It works, but it’s slower and introduces greater variation in seating depth.
The I-Punch Tool changes that workflow. Once the wires are positioned in the jack, a single squeeze terminates all eight conductors simultaneously. The practical benefits:
- Uniform seating depth across all conductors
- Faster terminations, especially on patch panels
- Less hand fatigue over the course of a job
- Fewer partially seated or poorly trimmed conductors
- Cleaner IDC engagement overall
These differences become significant on larger jobs where you’re terminating dozens or hundreds of connections.
Testing Your Terminations
Every termination should be tested before you call the job complete. At a minimum, use a continuity tester to verify:
- Correct wiring order (matching the chosen T568A or T568B scheme)
- No opens or shorts
- No reversed or split pairs
For CAT6A installations—especially those supporting Power over Ethernet—field certification assures that the complete channel meets performance requirements. The extra time is worth avoiding a callback.
Tips for Better Punch-Down Results
- Keep conductors organized and preserve natural cable geometry throughout prep
- Avoid re-punching the same slot—damaged IDC blades won’t make reliable contact
- Don’t bend cables sharply or stress them near the termination
- Use steady, controlled pressure rather than rushing
- Work in good lighting—it’s easier to spot mistakes before they become problems
Building consistent habits with your punch-down tool leads to fewer issues and faster work over time.
Frequently Asked Questions
Do I always need a punch-down tool for Ethernet terminations?
For keystone jacks, patch panels, and 110/66 blocks, yes. These use IDC connections that require a punch-down tool to seat the conductors properly. RJ45 plugs are different; they need a crimp tool instead.
Do I need to strip the individual wires?
No. The IDC blades cut through the insulation automatically when you punch down the conductor. You only strip the outer jacket of the cable.
Will a punch-down tool work for CAT6A cable?
Yes. CAT6A terminations follow the same basic process. The key is maintaining pair twist as close as possible to the IDC contact and using jacks rated for CAT6A performance.
What’s the difference between a punch-down tool and a crimp tool?
A punch-down tool seats wires into IDC slots on jacks and blocks.
A crimp tool attaches modular RJ45 plugs to cable ends. They’re designed for completely different termination types and aren’t interchangeable.
Build Better Habits, Get Better Results
A punch-down tool is straightforward to use, but the difference between acceptable work and excellent work comes down to technique and consistency. Take time to prep cables properly, maintain pair geometry, and inspect every termination before moving on.
The right tools help. The Vertical Cable I-Punch Tool and V-Max keystone jacks are designed to work together for faster, more reliable terminations. Still, whatever equipment you use, the fundamentals stay the same.
For additional guidance on installation best practices, BICSI’s training resources provide industry-standard methods applicable to all low-voltage work.